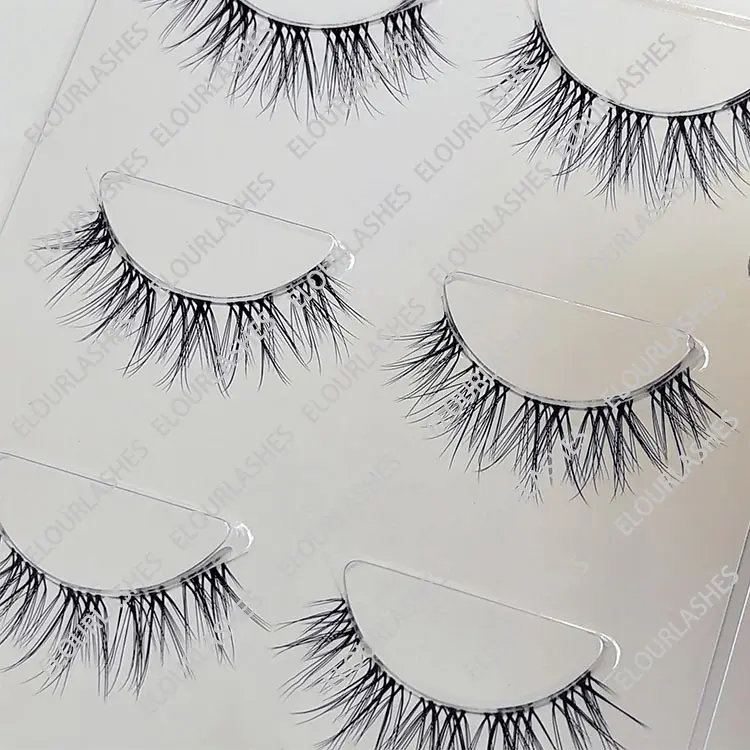
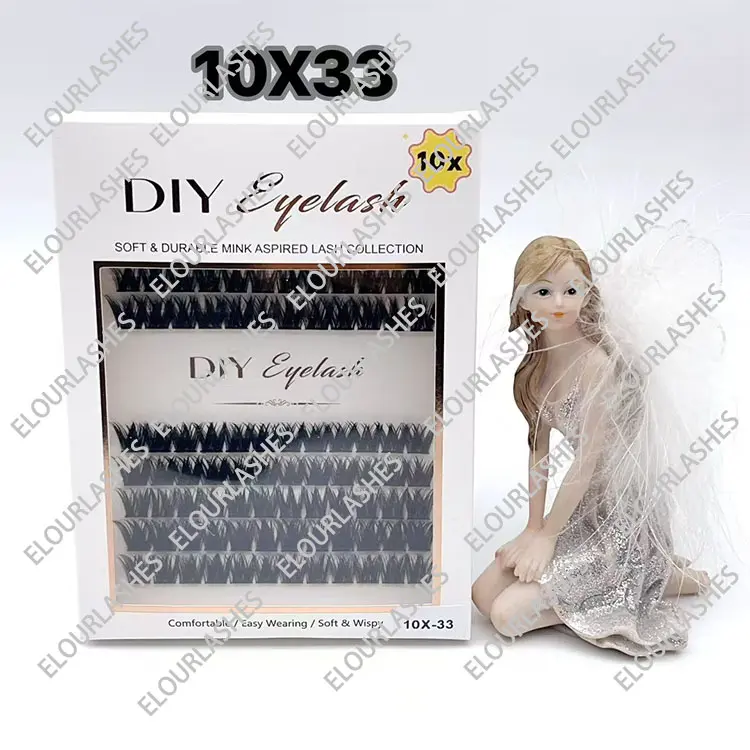
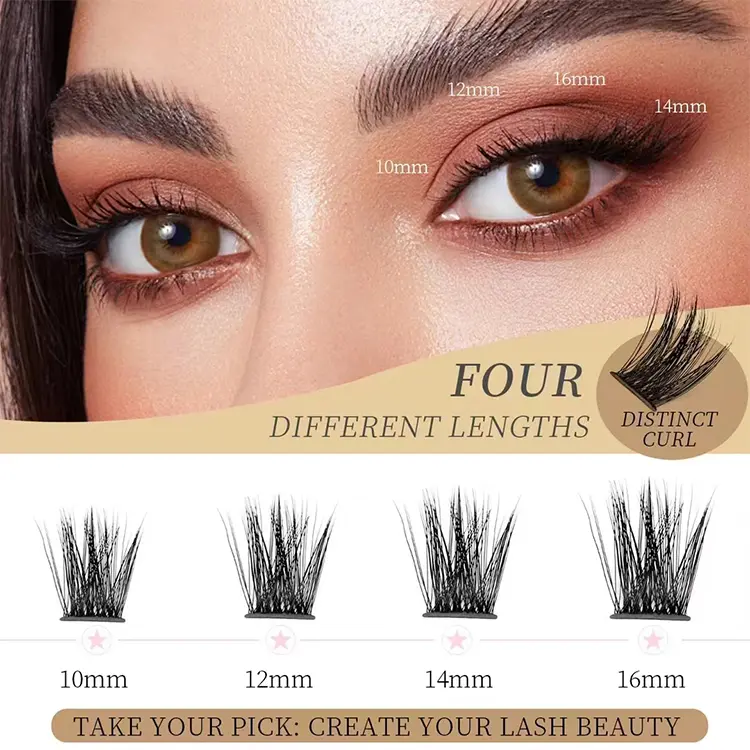
Individual flare knot lash ribbons
Creating individual flare knot lash ribbons involves arranging and applying individual lash flares in a ribbon-like pattern to your natural lashes. This can create a unique and textured lash look. Here's a step-by-step guide on how to make and apply individual flare knot lash ribbons:
Materials You'll Need:
Individual Flare Lashes: These are short sections of individual lashes with multiple lash strands. You'll use these to create the textured lash ribbons.
Lash Adhesive: High-quality lash adhesive safe for skin and eye use. Clear or black adhesive is available.
Tweezers: Precision tweezers for handling the individual flare lashes.
Lash Applicator or Lash Holder: Tools for holding the lash ribbons during application.
Mirror: Well-lit mirror for clear visibility.
Steps:
Preparation:
Ensure your natural lashes are clean and free from makeup or oils.
Choose a comfortable and well-lit workspace.
Select and Prepare Individual Flare Lashes:
Choose individual flare lashes in various lengths and styles to create the textured ribbon effect.
Gently remove the flare lashes from the packaging, being careful not to damage them.
Arrange Flare Lash Ribbons:
Lay out a piece of tape or a non-sticky surface.
Carefully arrange the individual flare lashes in a ribbon-like pattern, slightly overlapping the bases to create the ribbon effect.
Use a small piece of tape at each end to hold the flare lashes together temporarily.
Apply Adhesive:
Squeeze a small amount of lash adhesive onto a clean surface or the back of your hand.
Gently press the base of the flare lash ribbon onto the adhesive to secure it.
Attach the Flare Lash Ribbon:
Hold the flare lash ribbon close to your natural lash line and gently press the adhesive end onto your natural lashes, avoiding contact with your skin.
Use tweezers to adjust the placement and ensure the flare lash ribbon is secure.
Curing Time:
Depending on the adhesive, there might be a recommended curing time before you can get the extensions wet or apply makeup.
Finishing Touches:
Once the adhesive is fully cured, gently brush through your new extensions with a clean mascara wand to blend them with your natural lashes.
Avoid rubbing or tugging your eyes.
Note:Creating individual flare knot lash ribbons requires precision and care. If you're not experienced in applying lash extensions, consider seeking professional guidance or training before attempting it on your own. Incorrect application can lead to discomfort, irritation, or damage to your natural lashes and eyes. Always prioritize safety and proper technique when working around your eyes.

FAQs for individual flare knot lash ribbons:
Q1: What are individual flare knot lash ribbons?
A1: Individual flare knot lash ribbons are a unique lash extension technique where individual lash flares are arranged in
a ribbon-like pattern and applied to the natural lashes. This creates a textured and eye-catching lash look.
Q2: How are individual flare knot lash ribbons different from traditional lash extensions?
A2: Traditional lash extensions involve attaching individual lash extensions to individual natural lashes, whereas individual
flare knot lash ribbons consist of lash flares arranged in a ribbon pattern for a more textured and voluminous appearance.
Q3: Can I apply individual flare knot lash ribbons myself?
A3: While it's possible to apply individual flare knot lash ribbons on your own, it's recommended to have some experience
with lash extensions or seek professional guidance. Proper technique and precision are crucial for a successful and safe
application.
Q4: How long do individual flare knot lash ribbons last?
A4: The longevity of individual flare knot lash ribbons depends on factors like adhesive quality, aftercare, and your natural
lash growth cycle. On average, they can last up to 2-4 weeks before needing a touch-up or maintenance.
Q5: Are individual flare knot lash ribbons safe for my natural lashes?
A5: When applied correctly and with proper care, individual flare knot lash ribbons are generally safe for your natural lashes.
However, improper application, excessive weight, or not following aftercare instructions can potentially cause damage to your
natural lashes.
Q6: How do I remove individual flare knot lash ribbons?
A6: Individual flare knot lash ribbons should be removed by a professional lash technician. Attempting to remove them
yourself can lead to damage or breakage of your natural lashes.
Q7: Can I wear makeup with individual flare knot lash ribbons?
A7: Yes, you can wear makeup with individual flare knot lash ribbons. However, it's important to use oil-free makeup products
and be gentle when applying and removing makeup to avoid damaging the extensions.
Q8: Can I swim or shower with individual flare knot lash ribbons?
A8: It's best to avoid exposing your lash ribbons to water, steam, or excessive moisture for the first 24-48 hours after application.
Once the adhesive has fully cured, you can enjoy normal activities, but be cautious to avoid prolonged exposure to water or steam.
Q9: How do I maintain individual flare knot lash ribbons?
A9: To maintain your lash ribbons, avoid rubbing or pulling your lashes, use oil-free makeup and makeup removers, and gently
brush them with a clean mascara wand. Regularly scheduled touch-up appointments are recommended to keep them looking
their best.
Q10: Can I customize the length and style of my individual flare knot lash ribbons?
A10: Absolutely! Individual flare knot lash ribbons can be customized to your desired length, style, and volume. Discuss your
preferences with a professional lash technician to achieve the look you want.


