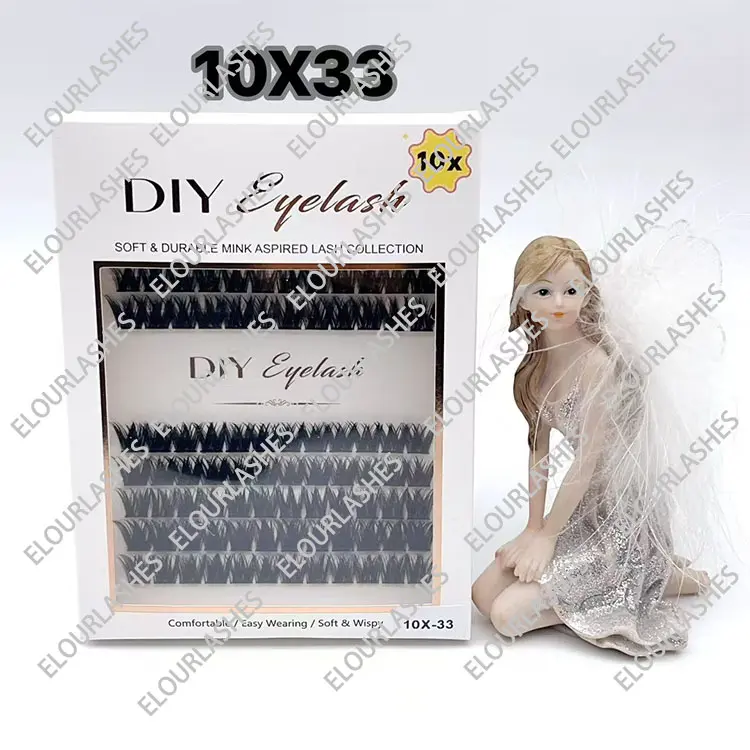
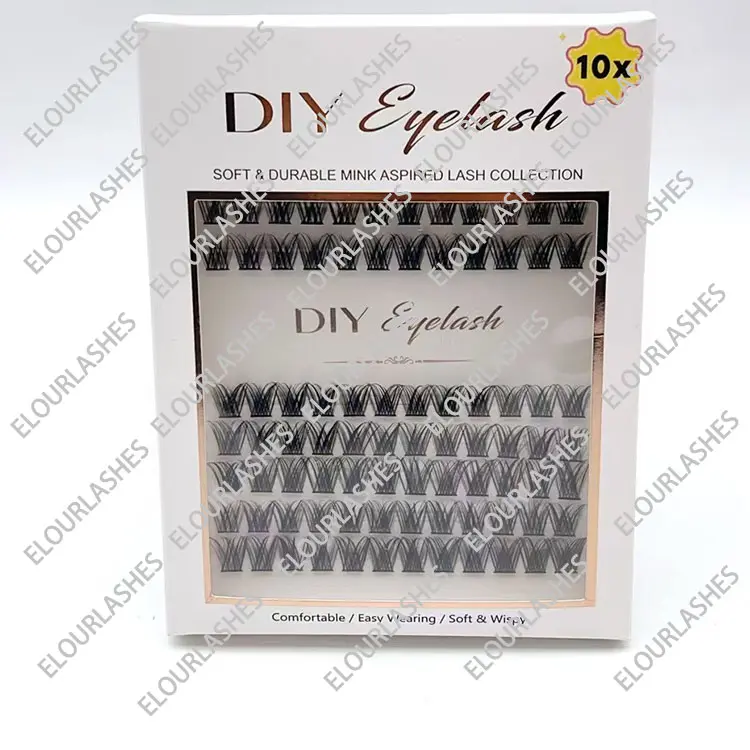
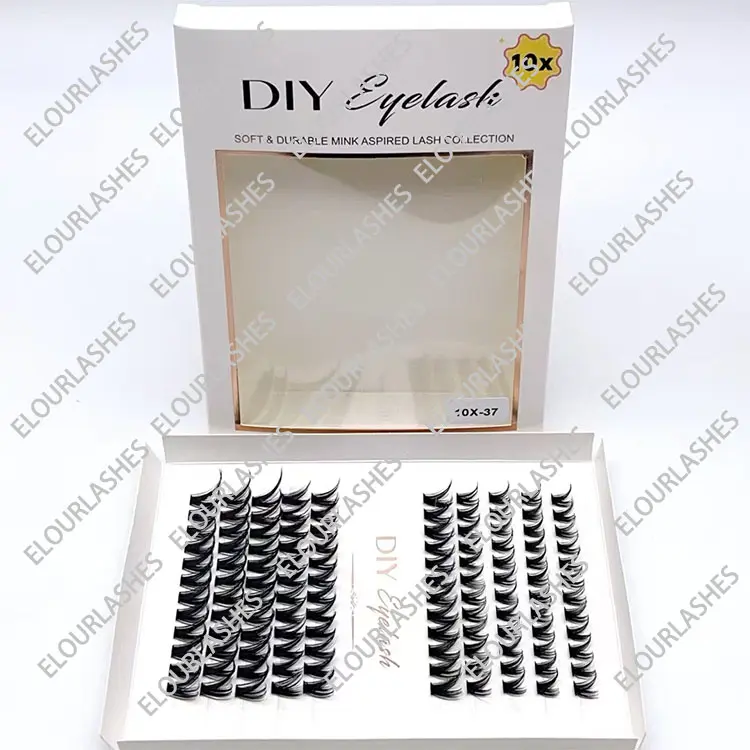
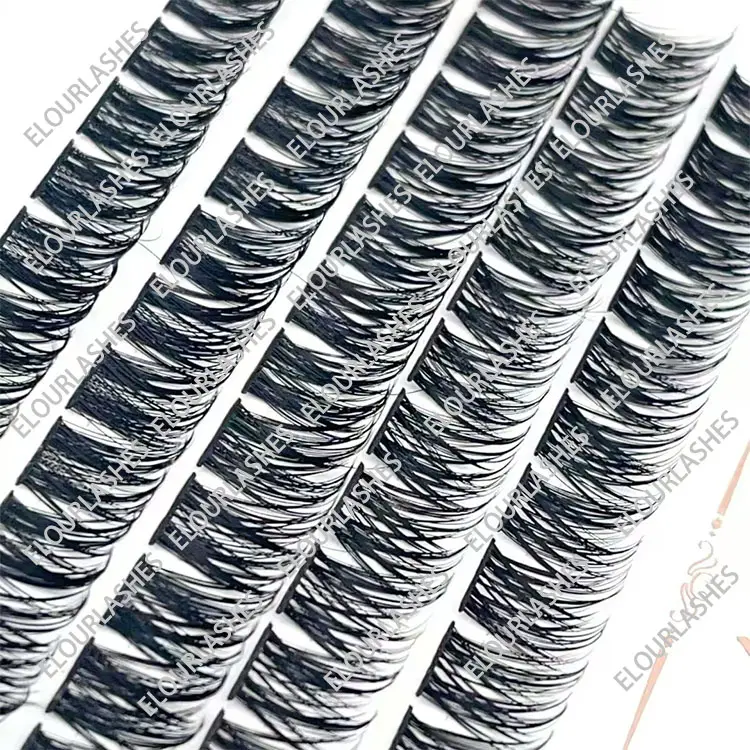
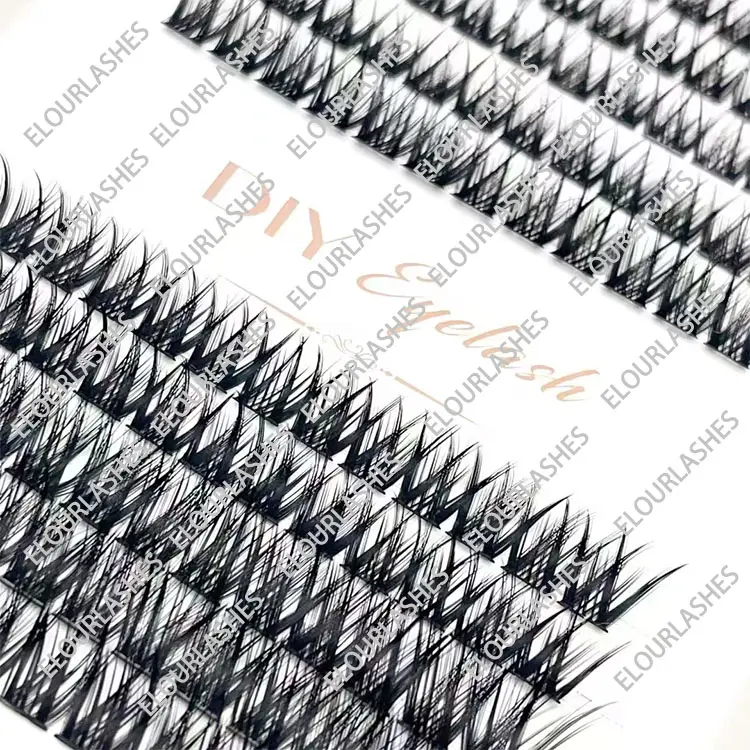
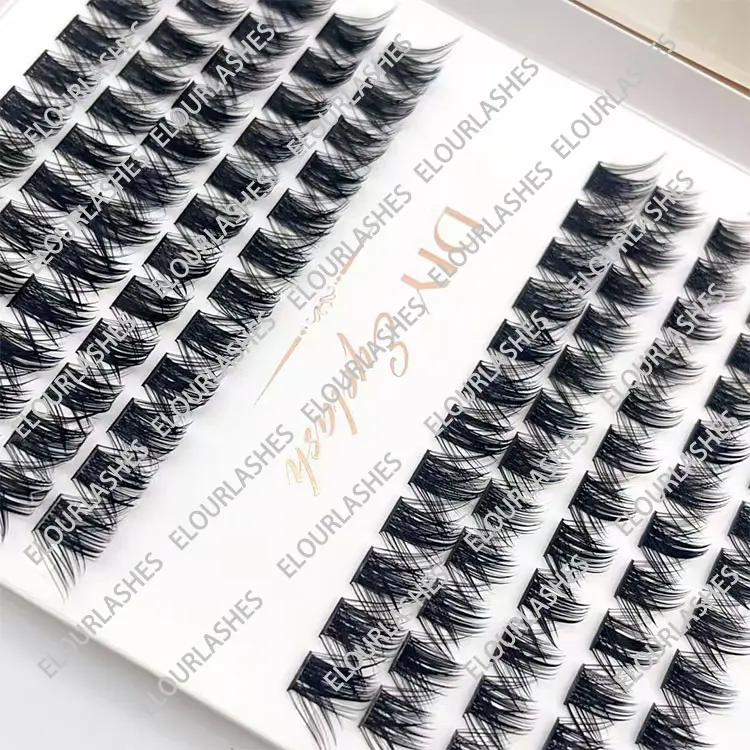
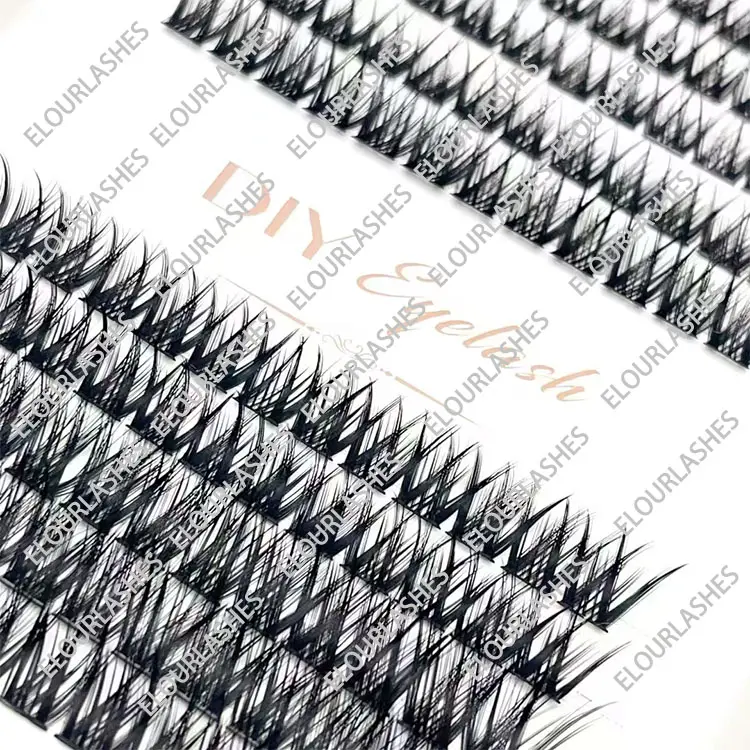
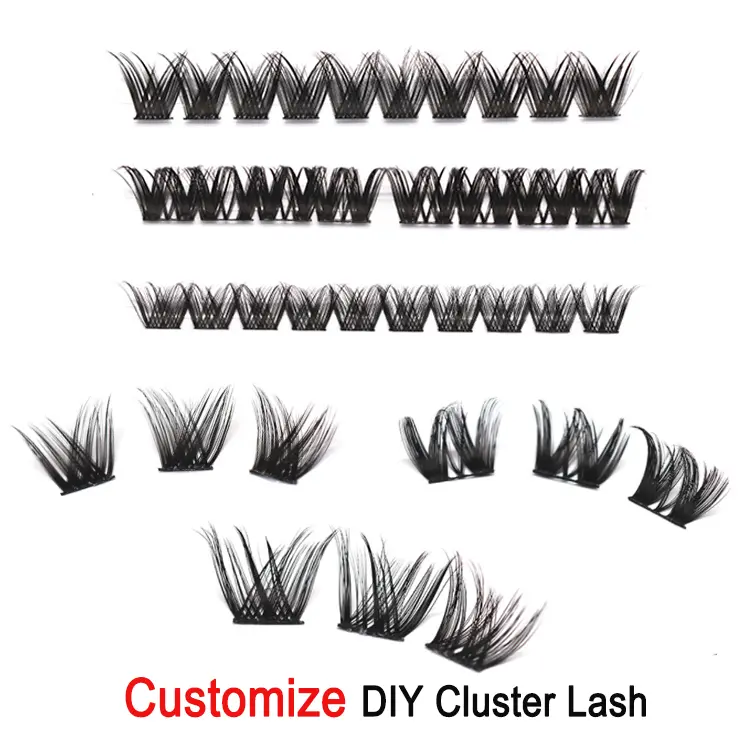
2025 hottest DIY lash extensions kit at home beauty
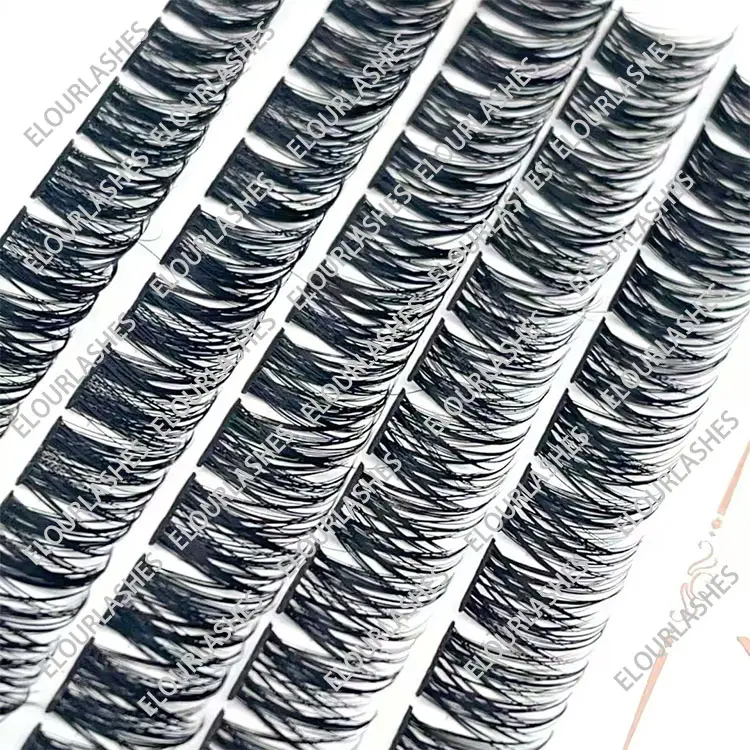
The FAQ for2025 Hottest DIY Lash Extensions Kit:
1. What is the 2025 Hottest DIY Lash Extensions Kit?
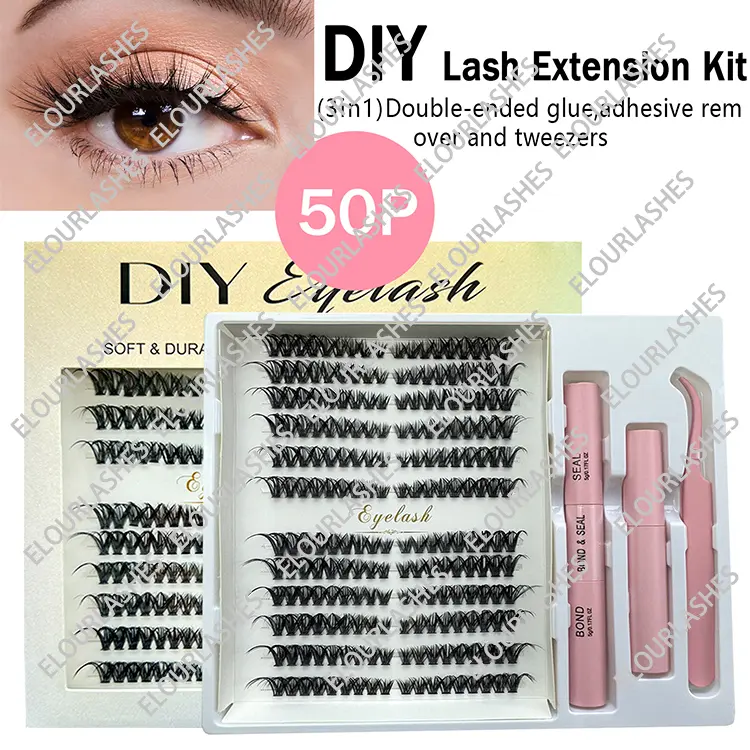
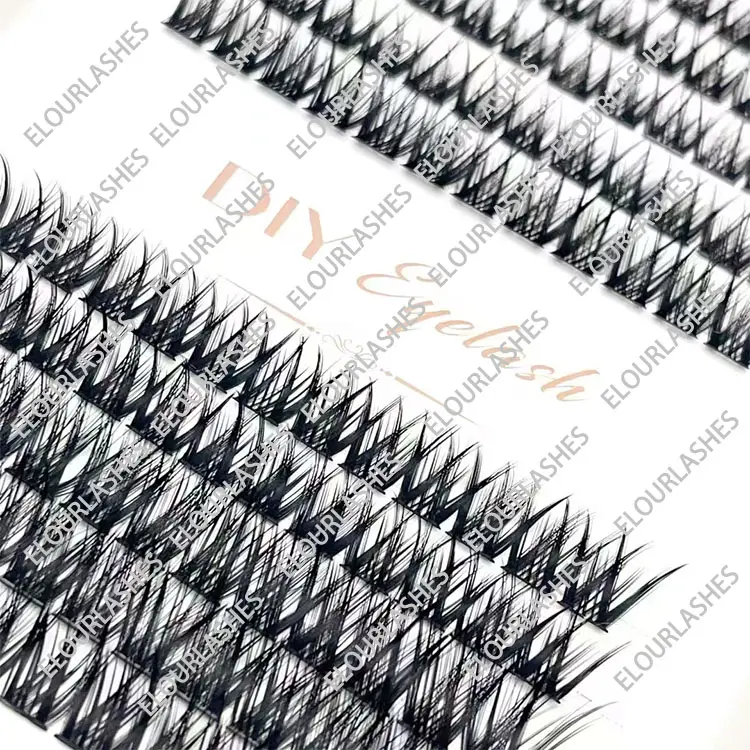
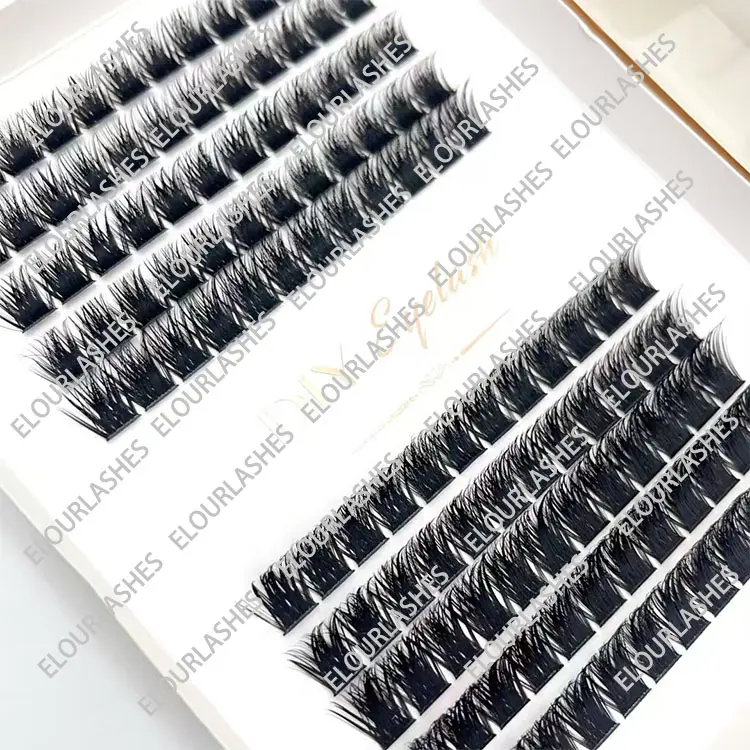
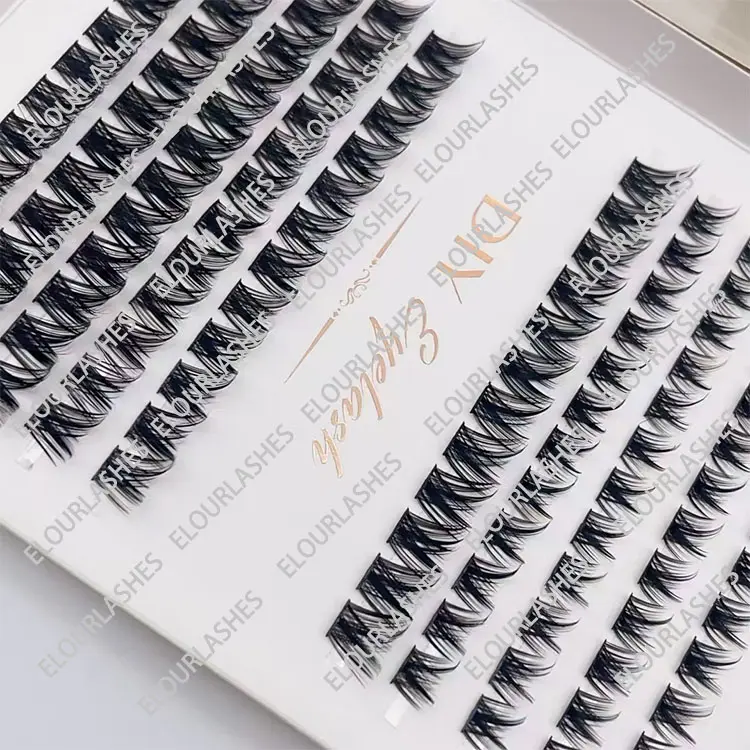
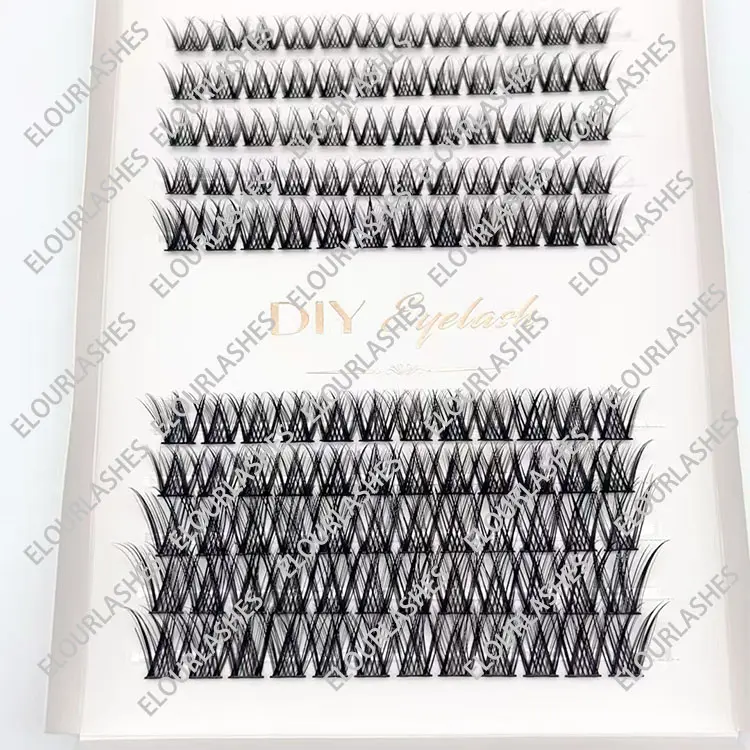
Answer: The 2025 Hottest DIY Lash Extensions Kit is a complete at-home beauty solution that allows you to apply eyelash extensions yourself. It typically includes everything you need, such as individual lash extensions, adhesive, tools (like tweezers), and instructions. This kit is designed for those who want the look of professional lash extensions without needing to visit a salon.
2. Are DIY lash extensions easy to apply?
Answer: Yes, with the right kit and instructions, DIY lash extensions are relatively easy to apply. The kits usually come with step-by-step guidance and all the tools necessary for a successful application. However, it may take a little practice to perfect your technique, especially when applying individual lashes.
3. How long do DIY lash extensions last?
Answer: DIY lash extensions can last anywhere from 2 to 4 weeks, depending on how well you apply them and how you care for them. The extensions generally fall off as your natural lashes shed, so the longevity will vary from person to person.
4. Can I use DIY lash extensions if I’ve never applied them before?
Answer: Absolutely! Many DIY lash extension kits are designed with beginners in mind. They include easy-to-follow instructions and tools like applicator tweezers to help you achieve a natural look. However, it might take a few tries to master the technique, especially with more intricate styles.
5. What tools are included in the 2025 DIY Lash Extensions Kit?
Answer: A typical DIY lash extension kit will include:
Individual lash extensions (in various lengths and styles)
Adhesive (usually medical-grade glue)
Applicator tweezers for precise placement
Under-eye pads to protect your lower lashes
Lash brush to comb through your extensions
Instructions for applying the lashes Some kits may also include lash primers or removers.
6. How do I apply DIY lash extensions at home?
Answer: The general steps for applying DIY lash extensions are:
Prep your lashes: Clean your natural lashes with an oil-free cleanser and apply under-eye pads.
Apply adhesive: Place a small amount of adhesive on a clean surface, like a tray or the back of your hand.
Pick up the lashes: Using the applicator tweezers, pick up one lash extension at a time.
Apply the lash extensions: Carefully place each lash extension onto your natural lashes, making sure to leave a small gap at the base to avoid glue touching your eyelid.
Dry and set: Allow the lashes to dry for a few minutes before moving on.
7. Are DIY lash extensions safe for my eyes?
Answer: Yes, DIY lash extensions are generally safe as long as you follow the instructions carefully and use high-quality adhesive that’s safe for use around the eyes. Be sure to avoid getting glue in your eyes, and if you experience any irritation, remove the lashes and discontinue use. Always perform a patch test with the adhesive 24 hours before full application to check for allergic reactions.
8. Can I wear mascara with DIY lash extensions?
Answer: It is generally not recommended to wear mascara on lash extensions, as it can clump and shorten their lifespan. However, some kits may include "extension-friendly" mascara options. If you do choose to use mascara, make sure it's water-based and avoid applying it directly to the lash extensions themselves.
9. How do I remove DIY lash extensions?
Answer: To safely remove DIY lash extensions:
Apply a lash extension remover: Use an oil-free lash remover or makeup remover that’s safe for the eyes.
Soak a cotton pad: Soak a cotton pad with the remover and gently press it onto your lashes for a few minutes.
Gently remove: Once the adhesive starts to dissolve, use tweezers to carefully remove the lash extensions, starting from the outer corner. Do not pull the lashes off directly as this could damage your natural lashes.
10. How do I care for my DIY lash extensions?
Answer: To keep your DIY lash extensions looking great for as long as possible:
Avoid water for the first 24-48 hours after application.
Gently cleanse your lashes using an oil-free cleanser.
Avoid rubbing your eyes or sleeping face-down to prevent damaging the extensions.
Brush your lashes daily with a clean spoolie to keep them looking neat.
Avoid oil-based products around the eyes, as they can weaken the adhesive.
11. Can I use the DIY lash extensions kit for a special occasion?
Answer: Yes, DIY lash extensions are perfect for special occasions like weddings, parties, or photoshoots. You can customize the look by choosing different lengths or styles to suit the occasion—whether you want a natural look or something more dramatic.
12. What if I make a mistake while applying the lashes?
Answer: If you make a mistake, don't worry! Gently remove the lash using a cotton swab and oil-free makeup remover, and then reapply. Most kits come with a sufficient number of lashes, so you can practice and perfect your technique.
13. Are there different lash styles available in the kit?
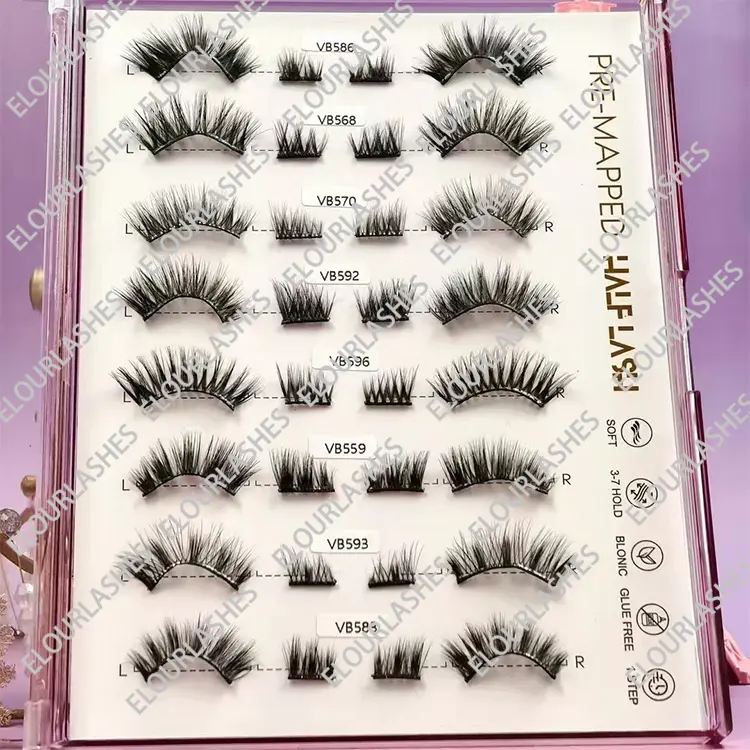
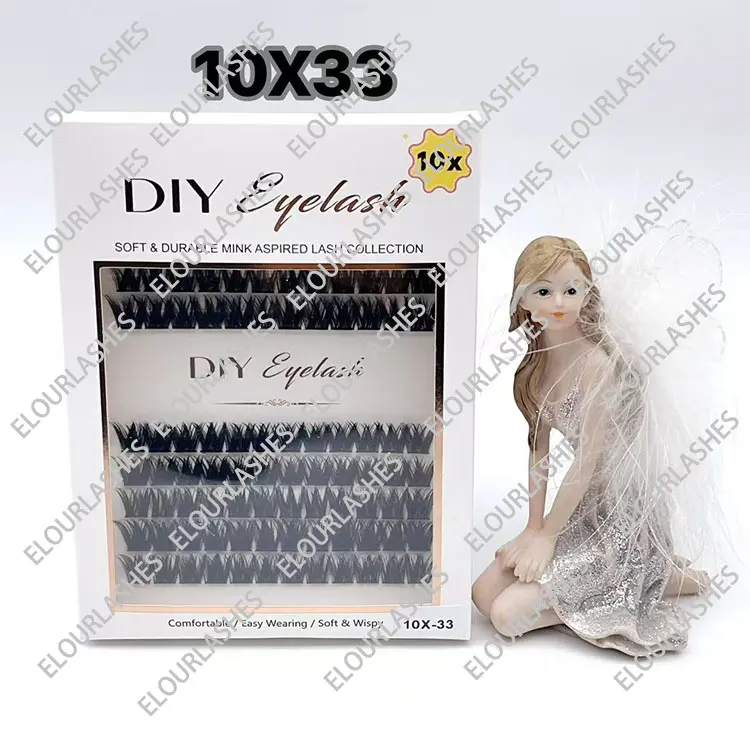
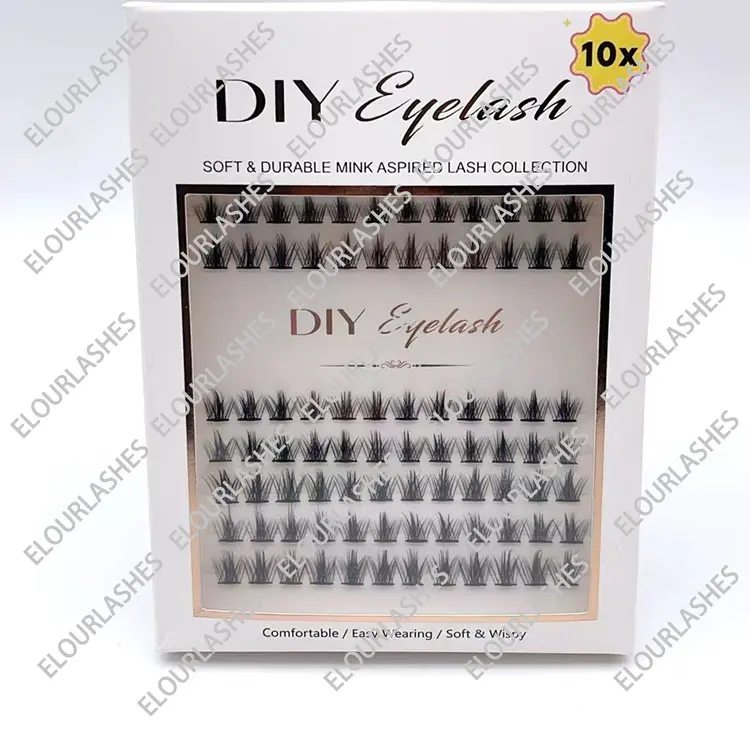
Answer: Yes, many kits offer a variety of lash styles to suit different preferences, from natural to dramatic. Lashes come in various lengths, curl types, and thicknesses, so you can customize your look to match your eye shape and the occasion.
14. Can I wear contacts while applying DIY lash extensions?
Answer: Yes, you can wear contact lenses while applying DIY lash extensions, but it’s best to remove them during the application process to avoid any irritation from the adhesive. Be sure to clean your hands thoroughly and follow the safety instructions to prevent any adhesive from coming into contact with your lenses.
15. What happens if the adhesive gets into my eye?
Answer: If the adhesive gets into your eye, immediately rinse your eye with water for several minutes. If irritation persists, seek medical attention. To prevent this, make sure to carefully follow the instructions and avoid applying too much glue.
